KDP Interior Daily To-Do List Planner: Practical Tips to Avoid Costly Mistakes
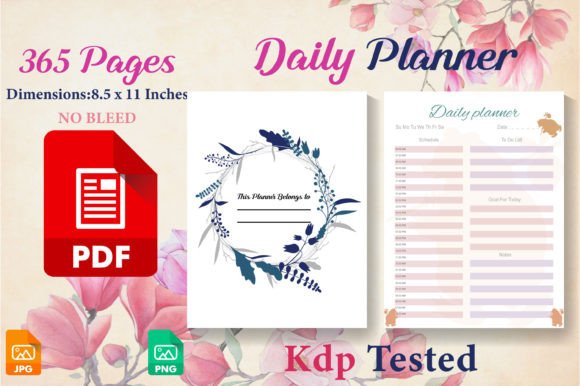
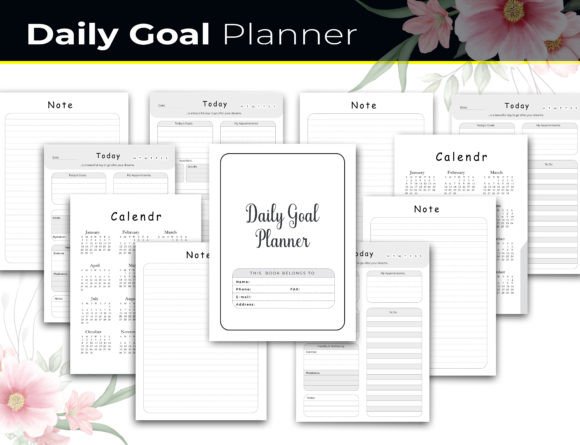
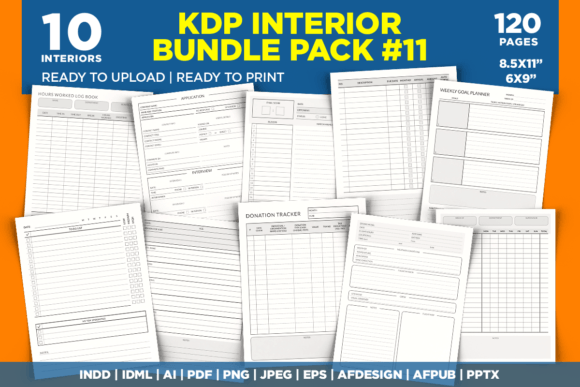
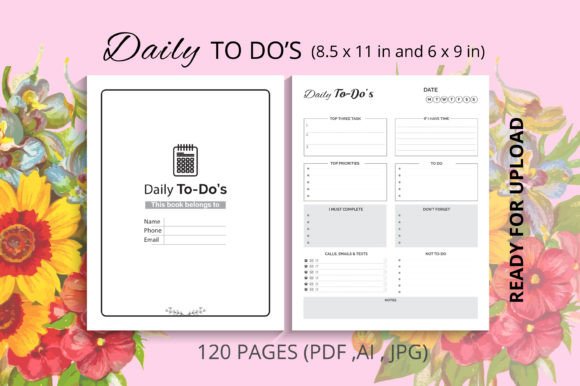
A well-organized daily to-do list planner can transform scattered thoughts into clear action. For self-publishers and side-hustlers building low-content books on Amazon KDP, the KDP Interior Daily To-Do List Planner offers a ready-made, professionally designed interior. It comes in two popular sizes—8.5 x 11 inches and 6 x 9 inches—with 120 pages, a unique layout, and full editable source files. You get PDF, AI, and JPG formats, all tested for KDP and free of bleed. On the surface, this looks like a simple upload-and-publish product. But in practice, small oversights while using this planner can turn a promising book into a formatting headache or a customer disappointment.
Many buyers jump in, swap a few colors, upload, and hit publish. They skip the parts that matter most: checking the file against KDP’s precise specs, understanding the impact of trim size and page count, and respecting the design’s built-in safety margins. When those details are ignored, the finished book might end up with trimmed-off text, misaligned pages, or a generic look that fails to connect with buyers. It’s rarely about the product being flawed—it’s about how it’s used.
The good news: with a few practical checks and a clearer picture of what the KDP Interior Daily To-Do List Planner actually needs from you, you can avoid these traps. Let’s walk through the most common missteps and how to handle them, so you end up with a daily planner that looks sharp, prints cleanly, and does its job beautifully.
Where People Get Tripped Up Using a Ready-Made KDP Interior
Having premade files is a huge time-saver, but it can also create a false sense of security. Because the product is labeled “KDP Tested” and includes editable sources, creators sometimes treat it like a final, no-touch solution. In reality, you still need to make several deliberate choices to avoid ruining the look and functionality.
Choosing the Wrong Trim Size in the KDP Dashboard
The planner comes in two sizes: 8.5 x 11 inches and 6 x 9 inches. You must pick one and set that exact trim size when you create your paperback or hardcover listing. A mistake many beginners make is selecting the wrong size in the dashboard—like going for 8 x 10 inches while uploading the 8.5 x 11 file. Amazon’s system might try to scale the interior to fit, which distorts the layout, changes margin spacing, and can push text outside the live area. Even if the upload succeeds, your preview will show a cramped or stretched inside. Always open the file, verify the dimensions at the document level, and match that to KDP’s size dropdown exactly. This is not a detail to guess.
Misunderstanding “No Bleed” and Safe Zones
A no-bleed interior means you don’t have to extend backgrounds or graphics past the trim edge. That’s a real convenience. However, it does not mean you can place text or important design elements right up to the page border. Printers need a safety margin—usually at least 0.25 inches on all sides—to avoid cutting off content during trimming. If you open the editable AI file and start dragging elements closer to the edge, you risk losing dates, headers, or lines in the final trimmed copy. Even if the original design respects safe zones, your edits can break that balance. A better approach: keep all main content, especially text, at least 0.3 inches inside the trim line. Do a test print at home on letter paper, simulate the trim, and you’ll immediately see if anything feels too close.
Editing the Source File Without Preserving the Structure
Having an AI file opens up endless possibilities—change fonts, colors, add sections. This flexibility is one of the key selling points. But many users dive into editing and unintentionally shift objects, disband grouped elements, or alter the page master in ways that corrupt consistency across the 120 pages. For instance, you might want to change the header font, select it, but accidentally nudge the top line of the to-do list, making it uneven across pages. When that happens, the book loses its polished feel, and repairs become tedious. A smarter workflow: make a backup copy of the original file, work on a duplicate, and edit only one page first. Check for alignment issues in outline or wireframe view, then replicate the change to all pages using global editing or master pages. If you’re not confident with vector software, stick to simple changes—color swaps or font replacements that don’t reposition objects—to keep the design’s integrity.
Overlooking the Page Count and Daily Flow
The planner provides 120 pages. That’s enough for almost four months of daily use if each spread covers one day. But you must clarify what the interior actually contains: is it 120 identical daily pages, or does it include monthly overviews, notes sections, or goal pages? Often, a ready-made daily planner interior repeats one page design throughout. If your customers expect a weekly layout or a mix of planning pages, this mismatch disappoints them. Before publishing, preview the entire PDF. Consider adding a contents page or a simple note in the product description that explains exactly what the buyer receives—this sets honest expectations and reduces returns. You might also insert a few extra pages (the editable source makes that possible) to include a yearly tracker or a habit tracker, but maintain a clean, uncluttered look that matches the base design.
Using the Wrong File Format for Print
The package includes PDF, AI, and JPG. Only one format is truly suitable for a clean KDP interior: PDF. AI files are great for editing, but KDP requires a flattened, print-ready PDF with embedded fonts or outlined text. JPGs are useful for previews or marketing images but terrible for a full 120-page book—they’re resolution-dependent, can appear soft when printed, and often create huge file sizes that fail KDP’s upload checks. If you edit the AI file and export a new PDF, double-check that fonts are outlined or embedded, images are at least 300 DPI, and the compression settings don’t degrade quality. A common mistake is exporting with default low-quality presets, resulting in a grainy-looking interior that feels cheap. Spend an extra few minutes reviewing the export settings for print.
Assuming “KDP Tested” Means “No Need to Order a Proof”
A product labeled KDP Tested means the designer has run it through Amazon’s file checker and perhaps printed a proof themselves under controlled conditions. It does not mean your specific combination of cover, paper choice, and printer location will produce an identical result. Printing machines and regional facilities can introduce slight variations. The only way to know for sure that your book looks right is to order a physical proof copy. Examine the margins, the binding gutter, how the book opens, and the crispness of the lines. A digital proof checker won’t tell you that the inner margin is too tight, causing text to disappear into the spine when the book is laid flat. That’s a real-world discovery. Budget the time and cost for a proof; it’s the cheapest insurance against negative reviews centered on usability.
Ignoring the Importance of a Cohesive Cover-to-Interior Relationship
The interior file is just one half of the book. A striking cover draws people in, but if the inside style doesn’t carry that same personality, buyers feel disconnected. The KDP Interior Daily To-Do List Planner comes with a unique design—clean, functional, and modern. Design your cover to echo some element of that interior: the color accents, the font style, or the overall mood. When you edit the interior heavily but leave a generic cover, the product looks pieced together. Alternatively, if you keep the interior design mostly untouched, a cohesive cover helps build a trustworthy brand, especially if you create a series of planners. Think of the planner as a complete product, not two separate jobs.
Building a Planner That Works in Real Life
Beyond the technical setup, a daily to-do list succeeds only if it helps someone stay on track. That means the layout needs to support real-world habits. Consider what a person actually does each morning: writes down three priorities, breaks tasks into small steps, maybe tracks water intake or gratitude. If the planner forces them into a rigid structure that doesn’t match their flow, they’ll abandon it. The beauty of an editable source is that you can tweak sections to fit a specific niche—like a busy parent’s planner with a meal planning box, or a freelancer’s work log with hourly tracking. Test the layout yourself for a week: fill out a printed page and see where it feels cramped or overwhelming. Small adjustments to column widths, line spacing, or the inclusion of a small notes section can make a huge difference in daily usability.
A Quick Pre-Upload Checklist
Before you finalize your file for KDP, run through these simple points. They take a few minutes but prevent countless rejections and customer complaints.
- Verify the PDF page size matches exactly the trim size you intend to select in KDP.
- Check that all content sits at least 0.25 inches from the trim edge (0.3 inches is safer).
- Make sure the total page count aligns with what you advertise and includes no blank confusing pages.
- Outline all fonts in the PDF or embed them properly.
- Look for any stray objects or text boxes that may have shifted during editing.
- Open the PDF in a viewer and go through page by page to spot any layout breaks.
- Set the document’s inside margin slightly wider if the planner will be thick—add an extra 0.125 inches to the inner side for binding comfort.
The KDP Interior Daily To-Do List Planner is a solid, well-structured starting point. It’s built for everyday use, with a design that’s already proven. When you spend a little time learning how to handle the files, respecting print requirements, and customizing thoughtfully, you turn a standard interior into a planner that people love to open each morning. That’s what builds repeat buyers and positive reviews—not rushing through the process, but taking ownership of the details that matter most.